Love in a Bear Hug: Rilakkuma-Inspired Proposal Box
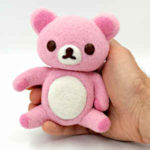
Rilakkuma, the laid-back bear known for its adorable, relaxed demeanor. He became an icon of comfort and joy among fans of kawaii culture. Japanese company San-X produce this character created…
Rilakkuma, the laid-back bear known for its adorable, relaxed demeanor. He became an icon of comfort and joy among fans of kawaii culture. Japanese company San-X produce this character created…
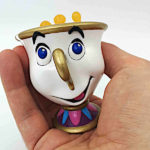
In the enchanting world of Disney’s “Beauty and the Beast,” one character that has captured the hearts of audiences for generations is none other than Chip Potts. A charming and…
I am animation fan and always excited for new releases. I can’t wait to see the new Disney Wish movie which is scheduled at cinemas on 22 November 2023. New…
Epcot, short for “Experimental Prototype Community of Tomorrow,” opened its doors on October 1, 1982. Walt Disney himself dreamt of a place where people could interact with cutting-edge technology, experience…

Few horror movie settings are as iconic and chilling as the Myers House from the Halloween franchise. Standing as a sinister symbol of terror, the Myers House has been featured…
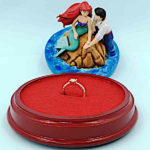
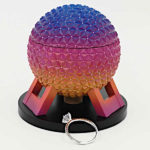
Here is my new custom engagement ring box inspired by The Little Mermaid animation created by Disney in 1989 which was loosely based on 1837 Danish fairy tale by Hans…
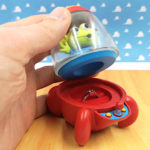
The Aliens from the Toy Story movie franchise, specifically known as the “Toy Story Aliens” are small, three-eyed, green, squeaky-voiced, and adorable extraterrestrial toys. The Toy Story Aliens made their…
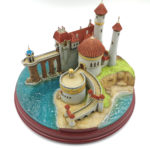
I built miniature scale model of Prince Eric’s castle from The Little Mermaid classic Disney animation. It is based on frames from the movie mixed with real life castle in…
If you follow my model building adventure you can probably guess that I love the ‘Up’ movie from Pixar. My interest in modelmaking restarted with my first miniature of Carl’s…