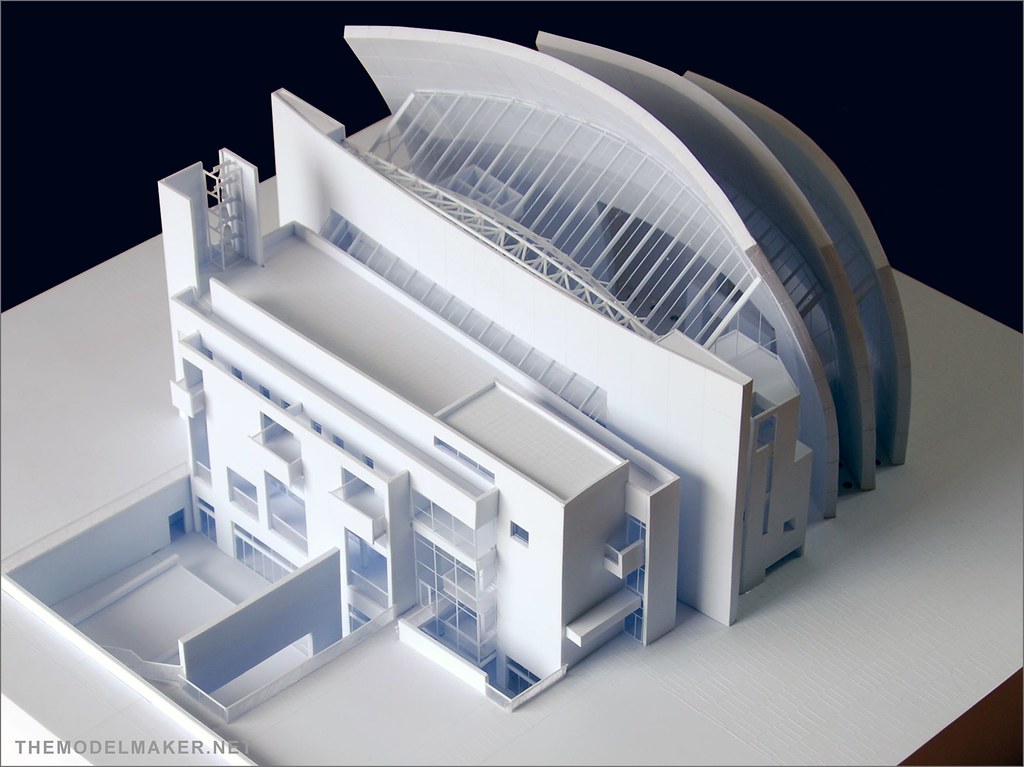
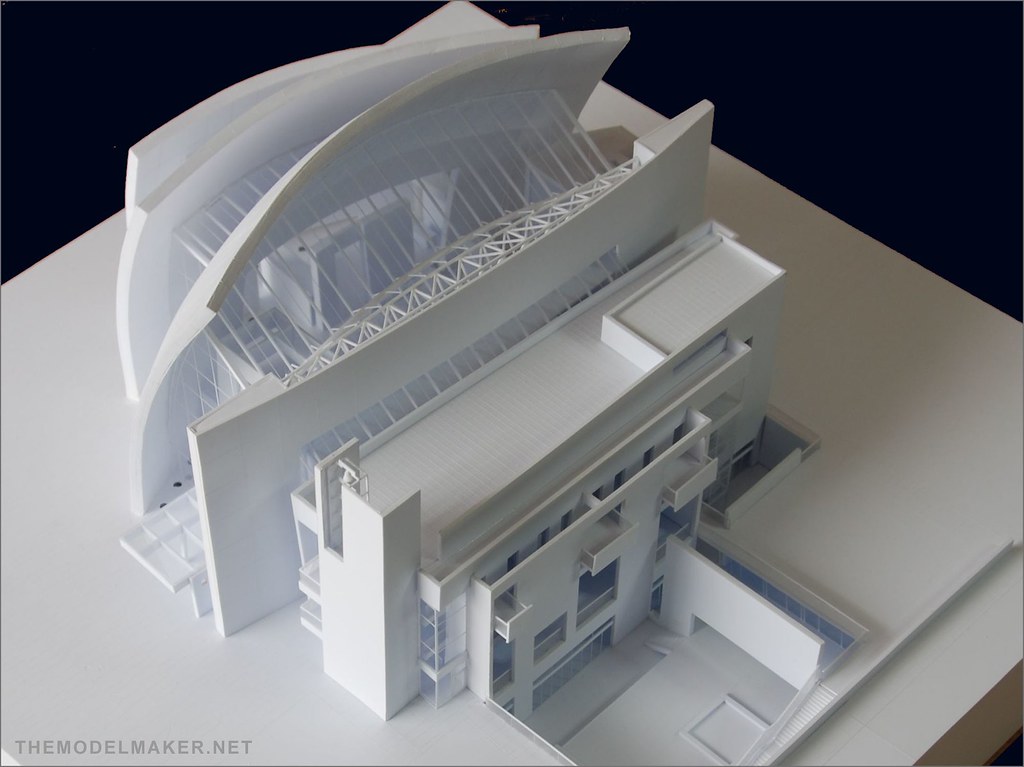
First model I would like to present you is Richard Meier’s Jubilee Church I made last year. Plan-form and section are extremely clear. Three circles of equal radius create three concrete shells to the south and together with a thick spine wall to the north. The west (altar) and east (organ) walls are light glazing, surrounding the bright, white set pieces for the cross and organ respectively. Natural light is the major theme, with skylights between each shell and over the main space, creating ever changing patterns within. In a contrasting, plain L plan around a sunken courtyard, is the community center, on four levels. The center is separated from the main church by a linear top-lit atrium.
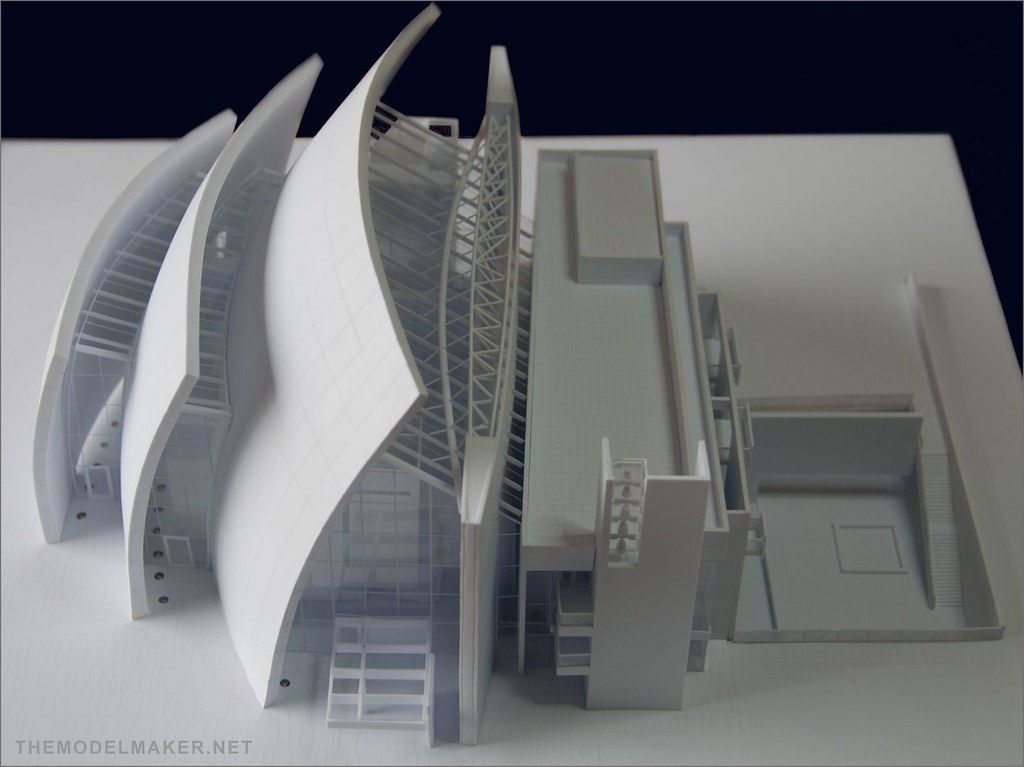
The whole Jubilee Church model is hand cut from styrene. That was before I bought my laser plotter. The shells were vacuum formed or rather pushed on my clay mold I prepared especially for that. At the beginning I was going to laminate it with glass fiber and resin, but I decided that styrene will be easier to cut later. Each shell contains 2 sheets of formed styrene and few stripes in the middle to add the necessary thickness. Then I sanded the edges and engraved the mesh of panels divisions. The rest is pretty straight forward. The most time consuming was engraving (panels, paving and railings).
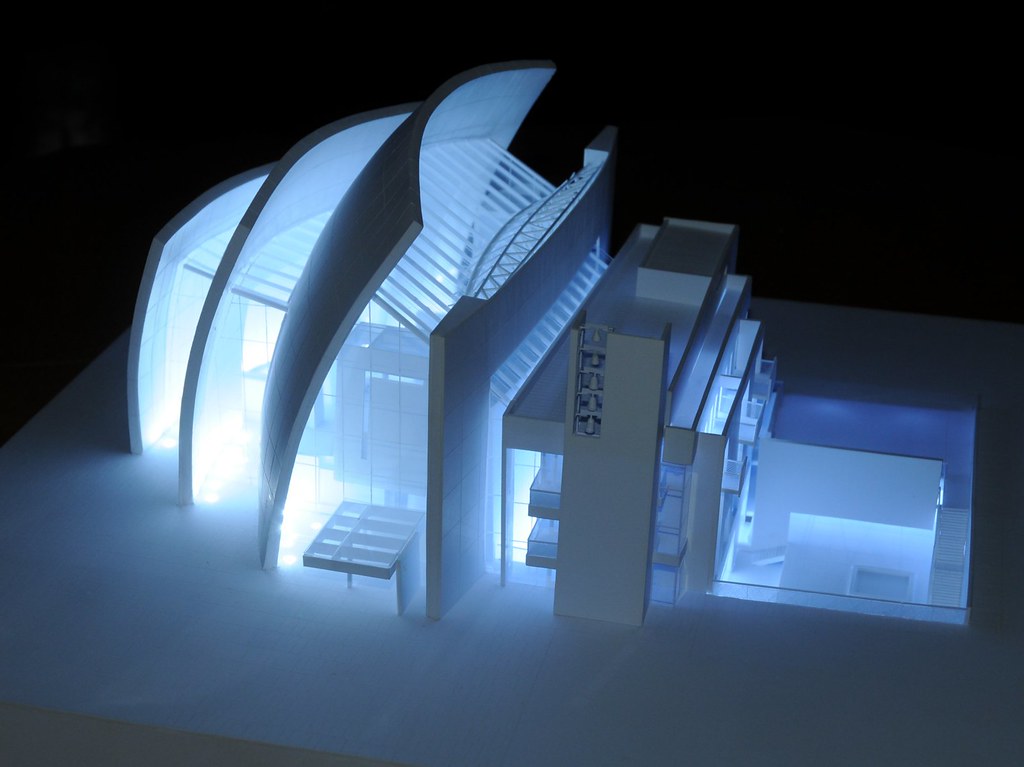
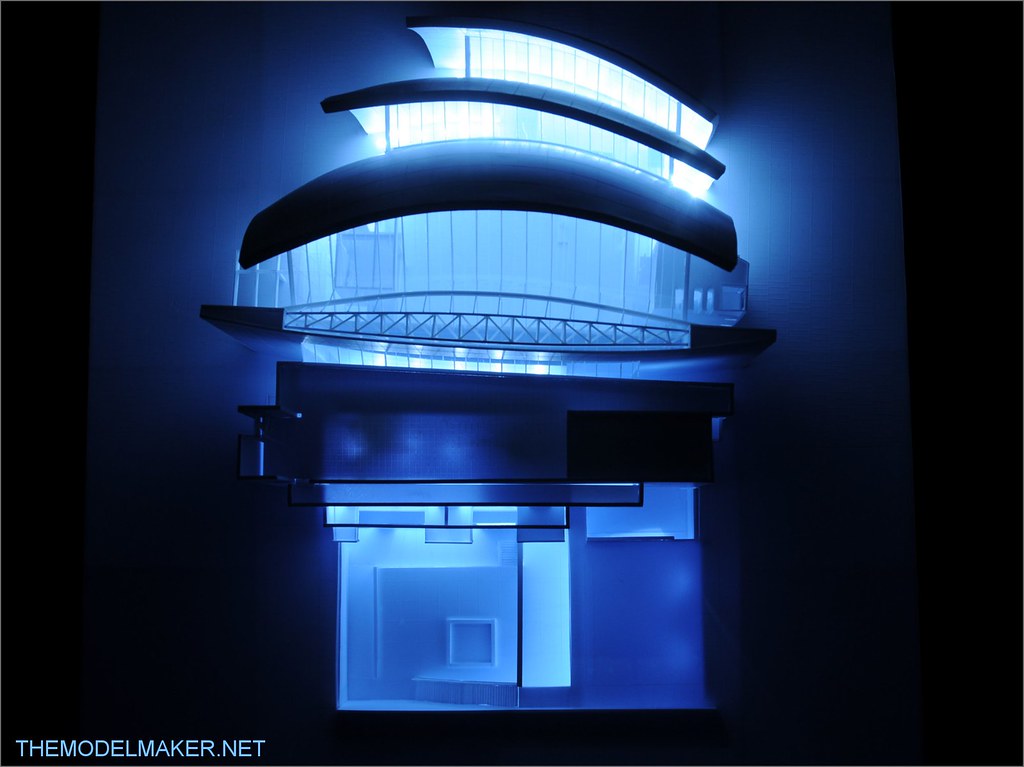
Everything is lit with around 40 LEDs and it serves as the “mood” light in my bedroom 😉 It is better than “lava lamp”.
I was asked how to make curved wall of this Jubilee Church. There is many ways to achieve this, but I will describe how I did it. This is modified version of vacuum forming without vacuum. If you have vacuum table its brilliant, if not, this shape is easy enough so you don’t need it.
I couldn’t find a ball with radius I needed so I had to make my mold from scratch. First of all I cut cardboard arches with necessary radius smaller by 5mm. I only needed to make a section of the sphere. This was my quite rigid construction. I stuck few layers of paper (I used old newspaper and PVA glue) on cardboard frame to make a surface. Then I Added 5mm layer of air drying clay. When it was hard, I sanded it to get the smooth surface. I often checked it with stencil to check the curvature. After few hours I was happy with my mold.
Then I prepared 2 timber frames and many paper clips. I placed sheet of styrene between them and joined with paper clips. Frames need to be rigid enough to hold melted styrene in place when pushed against the mold. Put it for few minutes to the oven. I watched closely if its getting soft. I took it out the oven and quickly pressed on mold. Always use gloves at this stage !!! It hardened in few seconds and it will kept the shape. I needed 2 copies for each wall.
My walls are thicker than styrene I could buy in my hobby shop. I needed to add this thickness. I cut the rough shape of the wall and stuck it on my mold with 2 sided tape. That will be bottom surface of my wall. I glued few narrow stripes of styrene on the perimeter and few in the middle, creating sort of mesh. I glued another layer of thermoformed styrene on top of it. I cut it to the right shape and sanded edges. This way I had thick wall with smooth surfaces on both sides. I had to repeat the process 3 times.
It was very time consuming process. Now I would rather use rapid prototyping technology. It would be much faster and precise. The shells would be 3d printed from plastic material with exact shape and dimensions as in 3d software.
The cost of desktop rapid prototyping machine is dropping and getting more affordable. That’s why many 3d printing services are available for hobbyists. The one I tested myself is Shapeways.com . They have several rapid prototyping printers in their machine shop and their growing design community is very helpful to explain the techniques of creating perfect, non-manifold model. With shape like this It would be very easy to create it in blender and 3d print it. Easy and clean way.
NOTE: This model of Jubilee Church is for sale due to lack of display space in my apartment. If you are interested write me a message in contact form in About page.
